
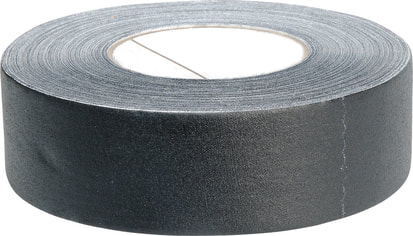
 Gaffers tape is a tool that was first developed for use in film making, but it makes a great tool for pro audio and video too. No one likes a messy stage and Gaffer tape is the perfect thing to help you keep your stage clear. If there's one thing people dislike more than a messy stage, is the sticky nasty cable and floor from using other options. Gaffers tape solves both of these issues! It can secure cabling to a floor and doesn't leave residue on the cable or the floor. Gaffers tape can be found at many pro audio and video stores but is most easily found on amazon from our friends at Tape Ninja. Just search for "Tape Ninja" in the search bar! Gaff tape tears like thin cloth, but is strong enough to hold down cable. If knowing about Gaff tape isn't enough, here's another tip for you: If you need a hand taping and don't have a friend, use a small piece taped across at the beginning of a run and at the end to keep it straight. Then, simply run a strip right down the middle of the cable for a nice straight, quick tape job. Let us know what other things you have found Gaff tape useful for! I know I have used it to tape temporary blackout to windows. It really is a lifesaver! 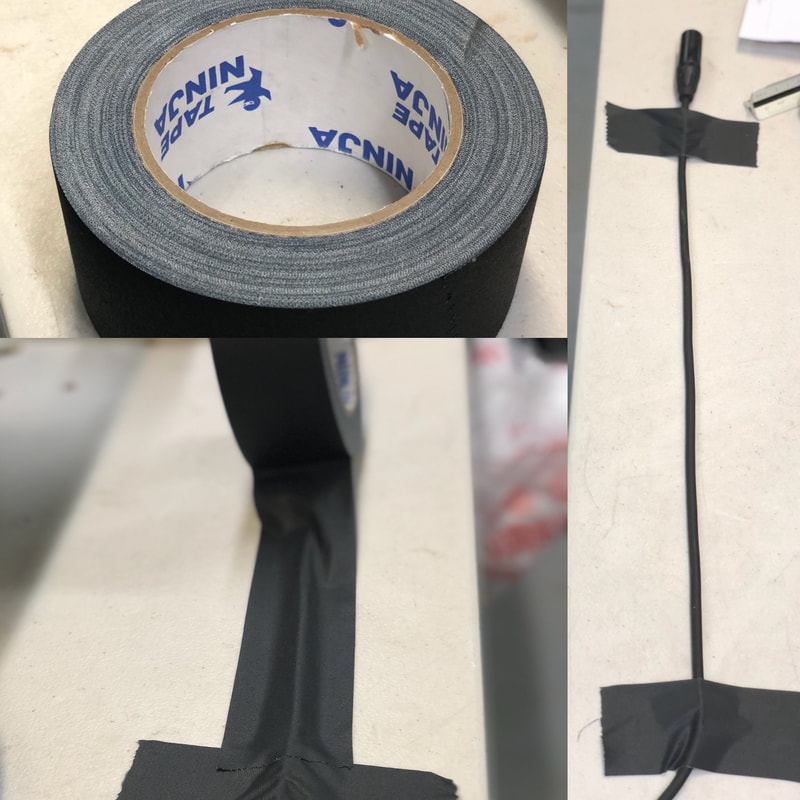
0 Comments
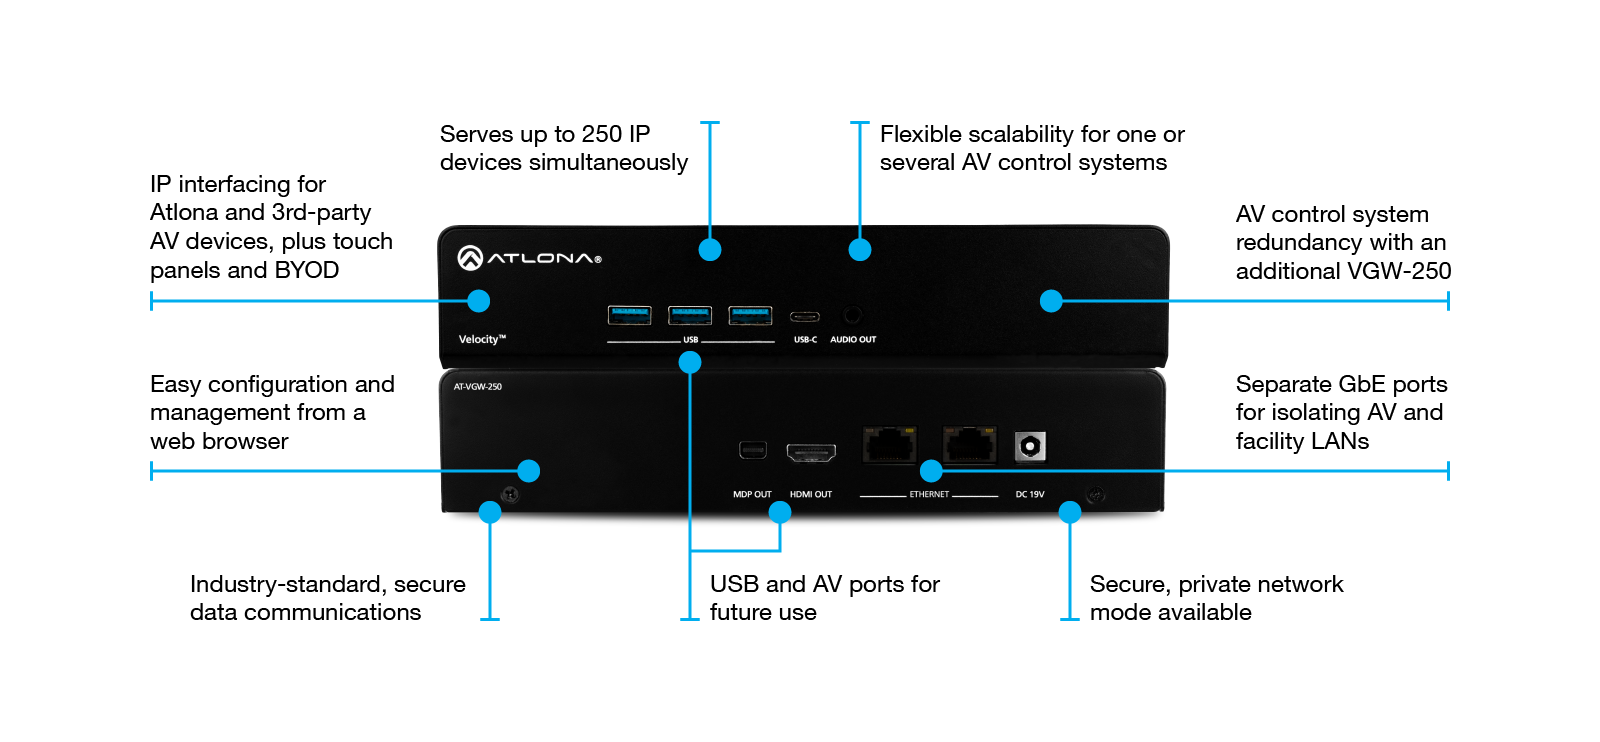 We are so excited to tell you about Atlona Velocity! Atlona Velocity brings a whole new approach to AV control, making it faster, easier, and more cost effective than ever to specify and integrate a commercial AV control system. Velocity delivers true AV control ability without the need to have an AV tech in the room. Any corporate team will be able to use the AV tech in the room with the touch of a button. One of its strongest features is an affordable touch screen interface for central and simple room control. You can configure control systems in a few minutes with simple navigation and menu selections much like any other mobile or web app. You can easily switch between devices like TV’s, phones and computers to easily control whatever you are working on. It's user friendly and will save you lots of time. We think this product will change the way you handle your corporate needs. It will add simplicity, efficiency, and compatibility to all your AV needs and uses. You will spend less time trying to connect a slideshow to the screen and more time discussing your slideshow with your team. Lambda will be launching several systems this fall using Atlona Velocity and we will be talking more about it in future articles. We are excited to see how this system can help our clients maximize the use of their spaces. If you want to know more about the Atlona Velocity just ask! We are here to answer any questions you might have and give you the information you need to succeed. We believe this will make a huge change in the corporate industry and we want to keep you first with the changing tech industry! Contact our support team below! 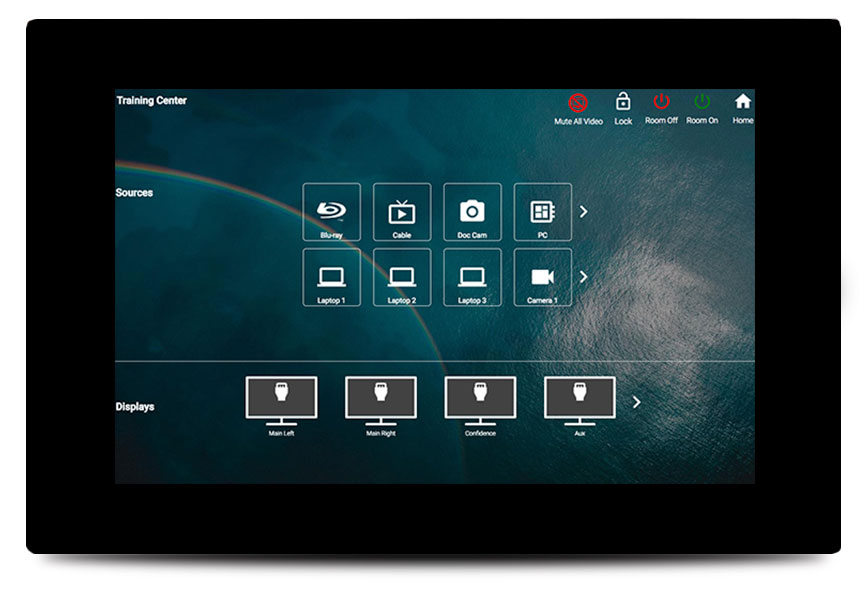 Proper cable storage techniques is one of the best ways you can prolong the life of your audio and video cable. The first technique we'd like to mention is over-under cable wrapping.
Here's how to do it: Start with the end of the cable you don't usually see in use. For example, with microphone cables we start with the male end as it plugs into the console. Hold the male end facing yourself and complete a loop down and back to your hand. For the next loop drop the cable and flip your wrapping hand away from the cable. Grab the slack and pick it up while spinning your hand back to its natural position. Once it's there, place this new loop in your hand with the first loop. Continue alternating smoothing the cable as you go. This will allow your cable to coil and later uncoil easily and without tangling As an added plus secure your cable with a Velcro tie. See the attached pictures for demonstration. Keeping your equipment organized with not only prolong it's life, but save lots of time in the long run.
This is a question I have run into a lot recently! Most audio engineers start by setting the fader on their audio console at 0 or, as its called, unity gain, and then setting the input channels also at unity gain. From there they adjust the gain knob on the console for each channel until they feel it's loud enough in the room.
While this may seem like a logical way to approach the process, it's actually a little backwards. The gain control on a console is the most important thing you can set. It's important to set it so that there is enough of a signal coming into the console before it even hits the faders. Why? It's because the flow of audio through the console starts with the gain control. For proper gain setting start by muting your channel. With good signal coming in and your channel selected or soloed, turn up the gain until your signal's highest point is -12db on the channel input meter or the solo meter. Next Check your mains fader for your main speakers, set it low, way lower than 0, start with -20 on the fader. Next bring up your fader on the input channel until you have the level you want in the room. If your fader is way at the bottom of the range or way near the top adjust the master as necessary and re-balance your input fader. In this way your input signal is strong, creating lots of signal for in ear monitor mixes, and low noise for working with signal. Your master is also now a real master volume control and not just a pretty fader sitting at 0. Try it out and let us know what you think! 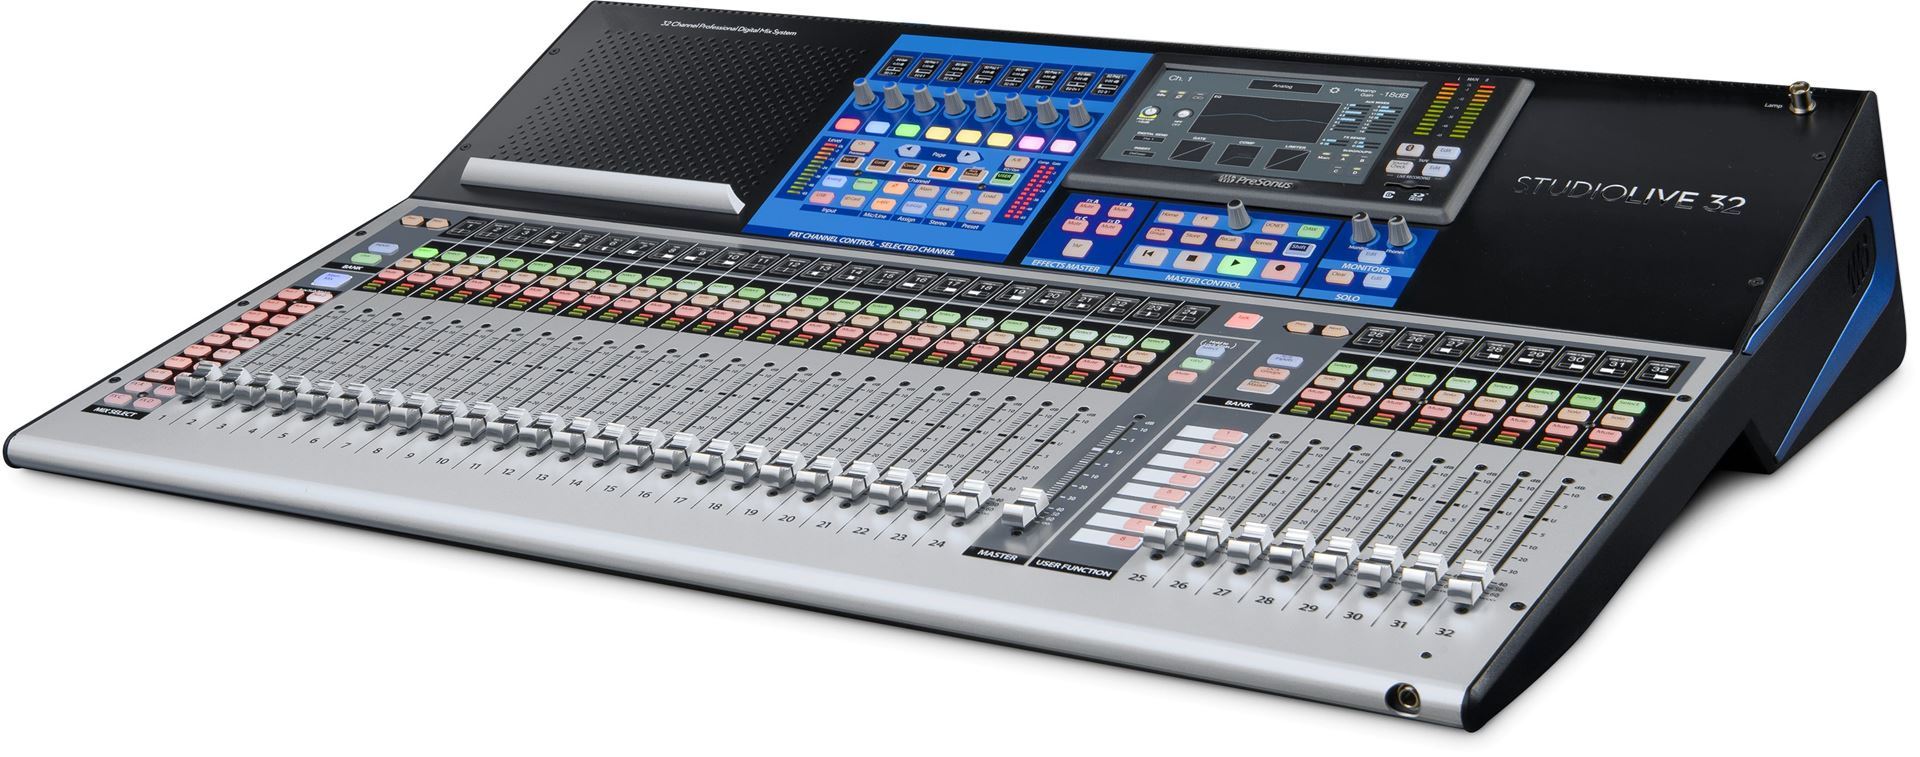 When I see this mixer I’m inspired to become sound tech! Though, lets be real, I’d just want to push the Mardi Gras button all day! StudioLive III is a whole new step forward in mixing, featuring 33 touch-sensitive, motorized faders and 32 recallable XMAX preamps. Besides color changing buttons and amazing mix options, one of the most impressive features on the StudioLive is the ability to add Plugins. These plug-ins are virtual signal processors that load in your StudioLive Series III console or rack mixer’s Fat Channel, expanding your Fat Channel processor library much like plug-ins do in a DAW. Each plug-in comes in both StudioLive Series III format and Studio One format so you can use your new processor in both mixer and DAW Fat Channels. Now you can have a wide variety of fresh DSP for live and studio sound. No other mixer anywhere near this price class has expandable processing—only PreSonus StudioLive Series III. P.S. Check out our Facebook page to see the video of the Mardi Gras switch in action. ;) Pictured below is Ryan's Dad, Ron. He inspired Ryan to get into Audio Visual. He also serves as a sound tech at his church. He came over to check out the sound board and liked it so much he tried to take it home!! 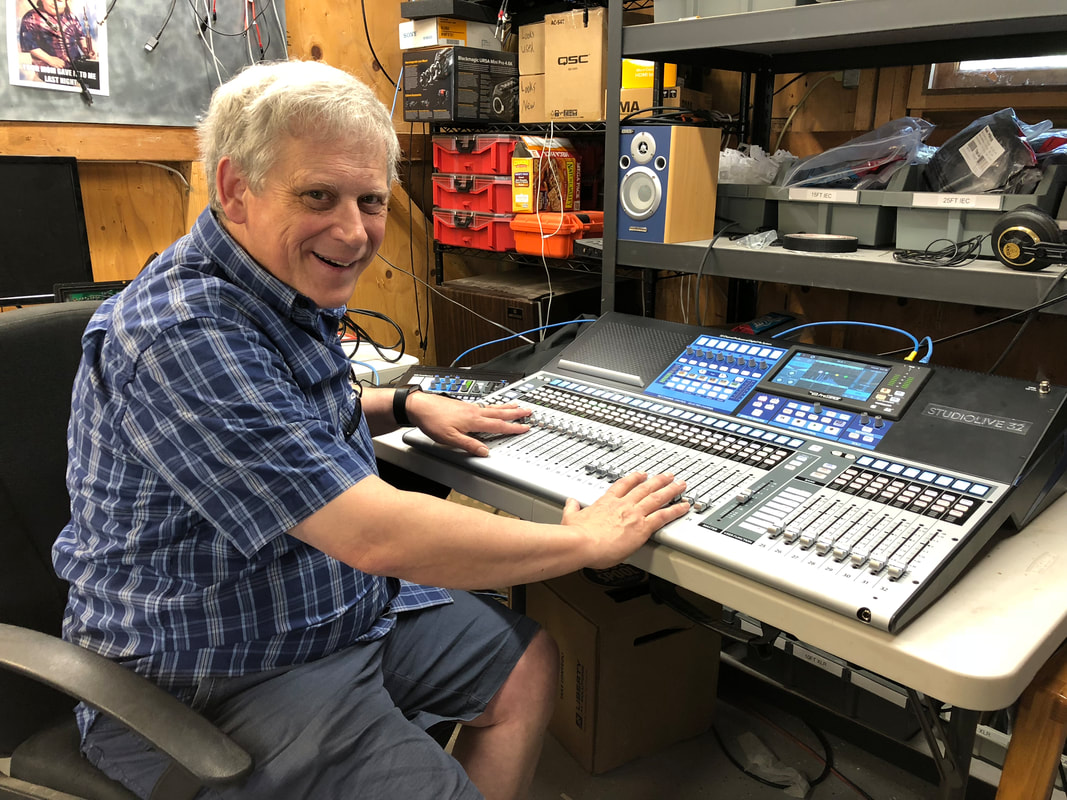 Recruiting and Keeping Your Volunteers AroundMy name is Jewell and if you have ordered anything with Lambda AV you have probably received an email from me as I work to fill orders, schedule installs, and send invoices. If you haven’t heard from me, hopefully you will in the future; I’d love to meet all of you! This article is from the perspective of both a volunteer and as someone who is learning the AV industry from the company I work for. My experiences come from volunteering for my own church in AV, as well as many other volunteer and volunteer management positions working on theater productions and even with being a General Manager to employees in past work related positions in the guest service industry. Hopefully that helps you understand where I have come from and why Ryan asked me to write this article. I hope it brings you a bit of insight and of course I’d be happy to hear from you too about this topic! Lots of Audio Visual systems are run with the help of a volunteer or could be completely based on volunteers. As an AV person who has made tech a part of your life, your first thought about volunteers may be where to find them and convince them to help you! But there may be more to recruiting volunteers than you might have initially thought. The first step, naturally, is to find people who are willing to volunteer. More than that, you need to find people who are willing to learn a complicated system. After that “easy” first step, you need to find a way to organized them, be willing and able to work around their schedules and take on the task of training them. Training employees can take an amazing amount of patience and flexibility, but sometimes it can take even more with volunteers. If you don’t take the time to do things well or are unorganized it can be frustrating as a volunteer and…we may just leave. After all, we don’t HAVE to be there. And that will be frustrating to you! So, how can you make an experience that your volunteers will enjoy, understand and be helpful with the things you need to get done? It’s the age-old question of recruiting free labor. Where slavery was an option in ancient Egypt, most have resorted to bribery or, in some cases, guilt tripping. Where bribery can be useful, especially in the case of providing food or coffee, there are better options to help you find volunteers and keep them. Options that will create an environment of happy, loyal workers and happy unstressed managers.  1. Be nice. Some of the best volunteer experiences are created by having fun with the people you are working with. I am 90% more likely to volunteer if I know I’ll be working with kind, encouraging people. Hey, we’re all human, just smile and offer a kind word and be willing to answer questions and you’ll have people stick around. 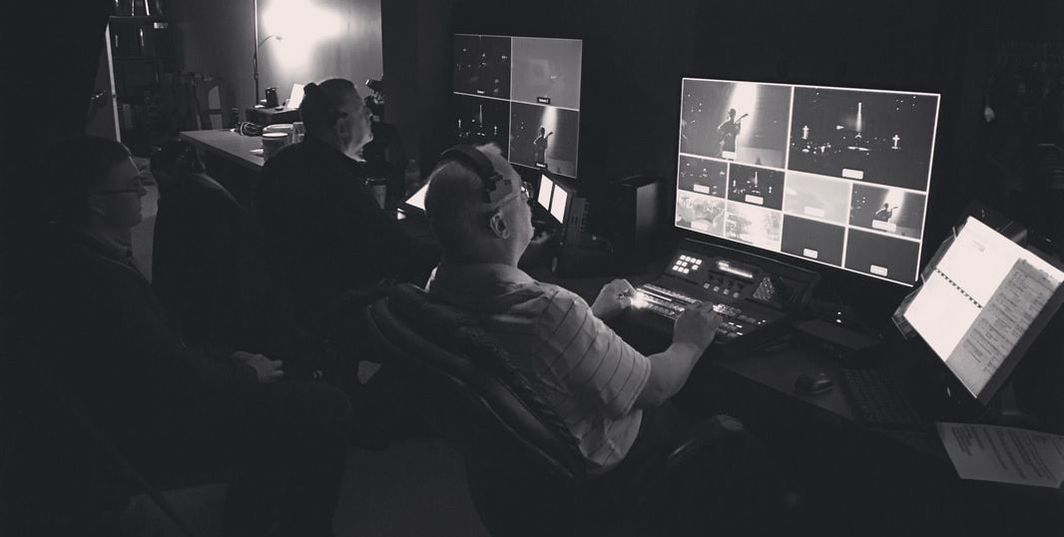 2. Inform. Provide a way to tell people what kind of service you need. Be open about sharing what your end goal is and what you hope to accomplish. From there volunteers are able to tell you, “I can do such and such, but not the other part”. This will leave you opportunity to offer training or for a second person to offer the rest of the service.  3. Offer feedback. I have been on both extremes of this. In some cases there is so much feedback that I might despair that I’ll ever do it well. So, why volunteer to put myself in that situation? I might as well let an expert handle it. On the other hand, if you aren’t willing to offer tips and suggestions, how are your volunteers supposed to learn and grow in their role? How cann you conquer these two extremes? Always, always be HONEST…With a measure of grace. Rule of thumb to follow: Offer a compliment, Give one or two tips and feedback, Finish with Thanks or Compliment. Volunteers will learn and get better. Have the patience for that to happen, but be willing to teach them and they’ll stick around.  4. Stay organized. This is important. There are multiple volunteer aspects this can apply to. The first point I'll suggest is organized training. Arrange to have specific times for people to come and learn. Saying "Come any Wednesday you want for training" is frustrating when you show up and there is nothing you can do or learn. It would be better to ask them if their is a day they could come or find a way to schedule them into a slot that works for you! They will be less likely to “just show up” whenever they want and willguarantee someone to be there to show them the ropes. Second, if you can’t stay organized or aren’t sure what to have your volunteers do when they do come, they will wonder why you asked for volunteers in the first place (Unless was a plea to keep you creative types organized!). Most people volunteer for a reason. To help. Let them help and be prepared in advance with starter tasks for them to do. Write lists of things that need to be done and assign according to how much training each volunteer has already received. 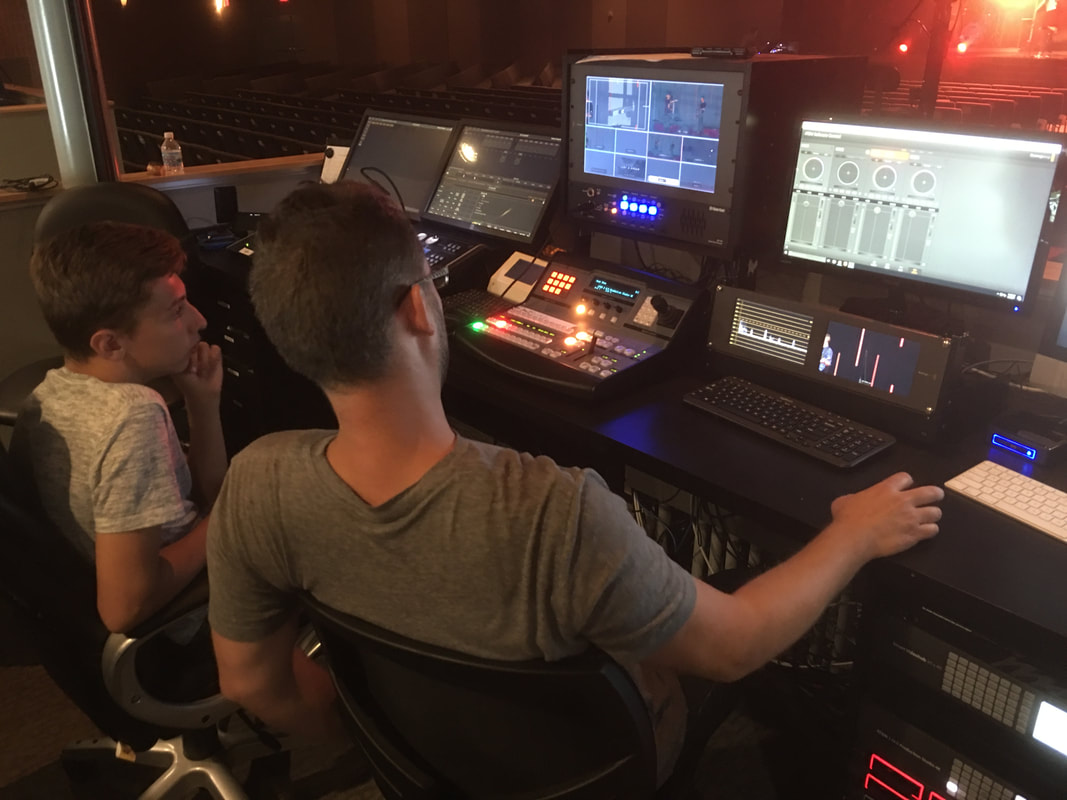 5. Schedule. One of the systems that I have enjoyed being a part of is: planning.center. Your volunteers can schedule out days they can’t help and then you can add them to your calendar accordingly. After that, they can accept or refuse your invitation to volunteer on that day. This not only helps you to officially schedule them and automatically gives them reminders, but it will help you from over scheduling your volunteers. The last thing you should ever do is rely on your volunteers so much that you burn them out and make them try to avoid you! Check it out and see if it’d be right for you. As someone who has never been very involved in working with tech, it’s intimidating to try. But it’s still something I want to do and learn more about. I find it incredibly fun to do and am happy to volunteer. Sometimes just opening up and offering to train someone, an anyone can do this attitude, will be enough to help people take the first step in volunteering and help make your life easier. I am so thankful my church has provided a way for me to learn and help out!
If volunteers are an important part of running your AV system, take a few minutes to think over your process and see if there are ways you can improve it. It could make a world of difference in who volunteers and who sticks around to keep helping. Have fun!! ~Jewell I've been traveling Italy for the last few weeks and never imagined that I'd be learning AV history alongside viewing priceless art! But, when you love what you do, you can't help noticing these things! Did you know that Leonardo da Vinci invented the first projector?? Leonardo was a brilliant inventor and experimented with multiple mechanisms, many of which we still use today! It just so happens one of his inventions was the idea of the projector! Leonardo's invention related to the propagation of light through mirrors and a lens which proved useful over time and led into the film industry. The Projector allowed you to create a "lun ume bello et grande" or "A big beautiful light" using only a single candle. When lit inside the box, the candle's luminous flux is strengthened when reflected in the rear mirror. When inclined, the latter reflects the light produced into the concave lens, projecting a quadrupled beam of light. Well, now you know! So don't you forget it! ~Jewell  Model of Leonardo da Vinci's projector invention
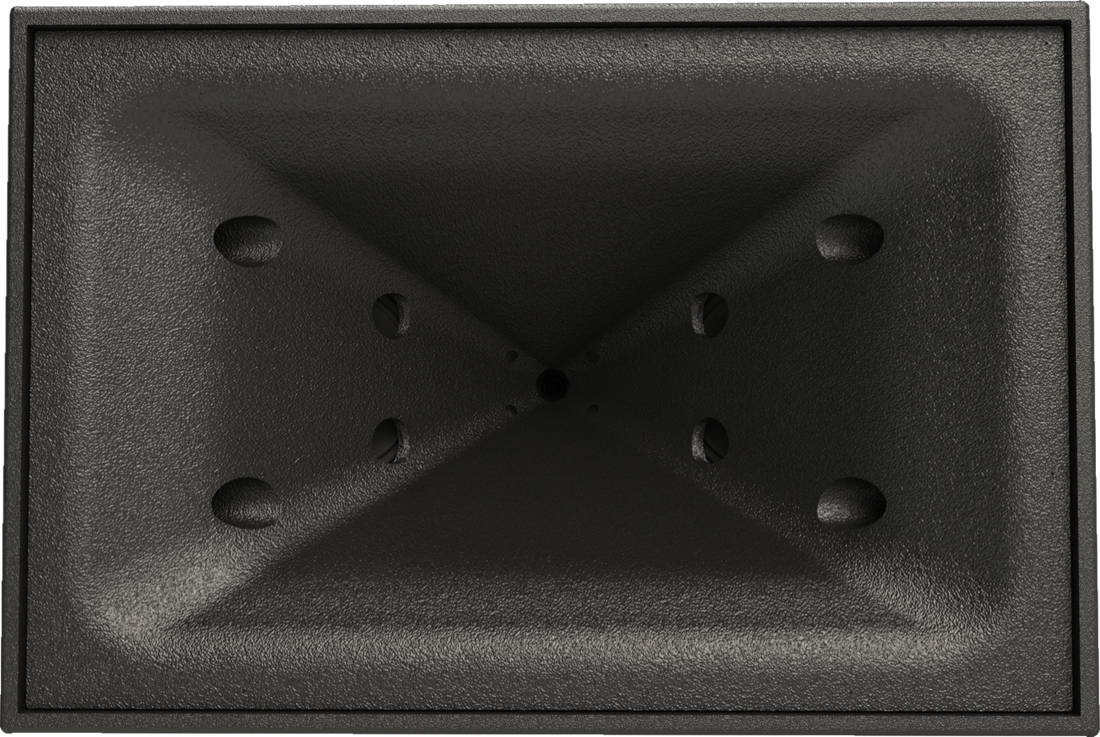
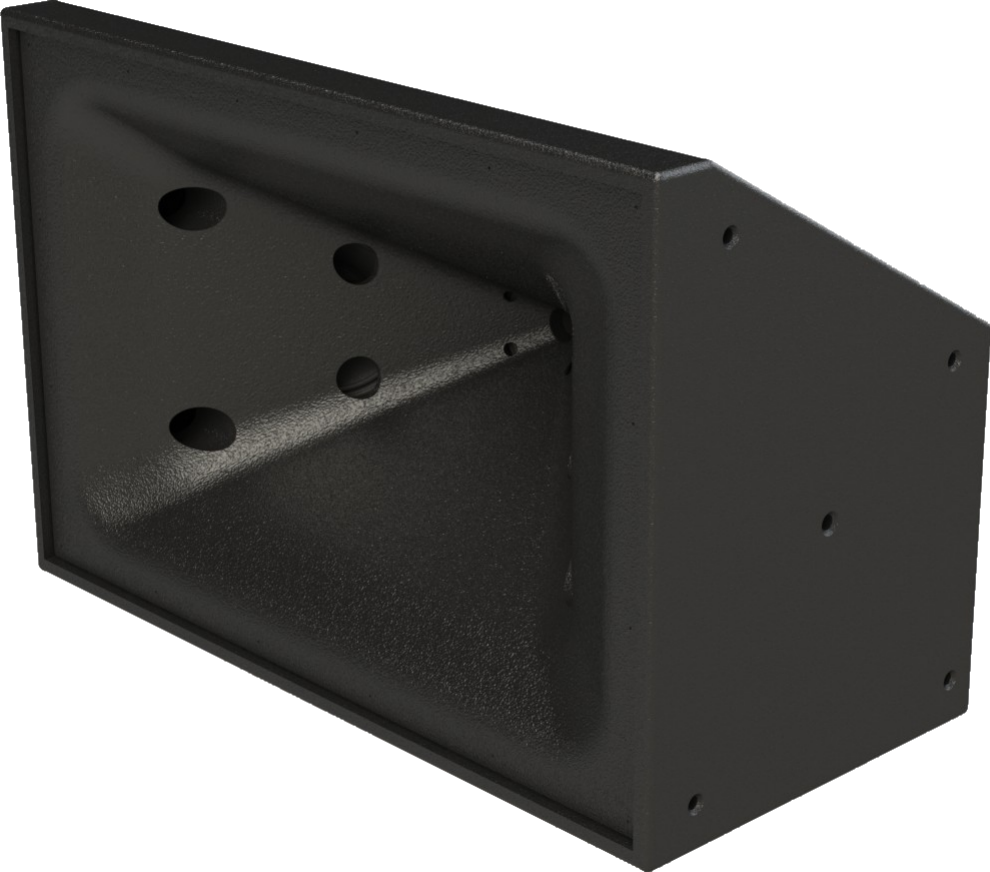
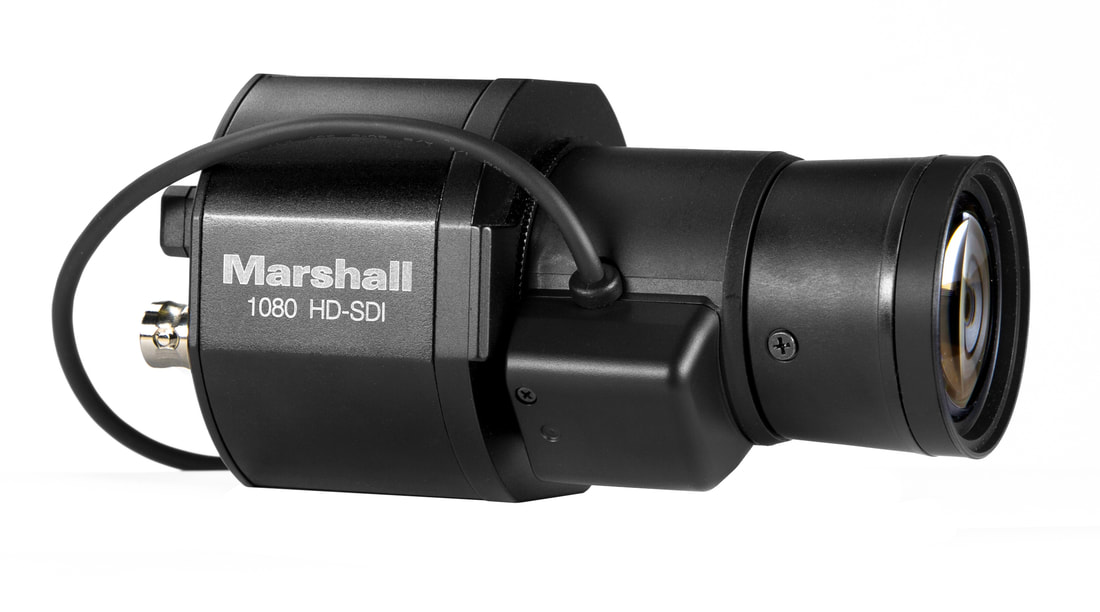
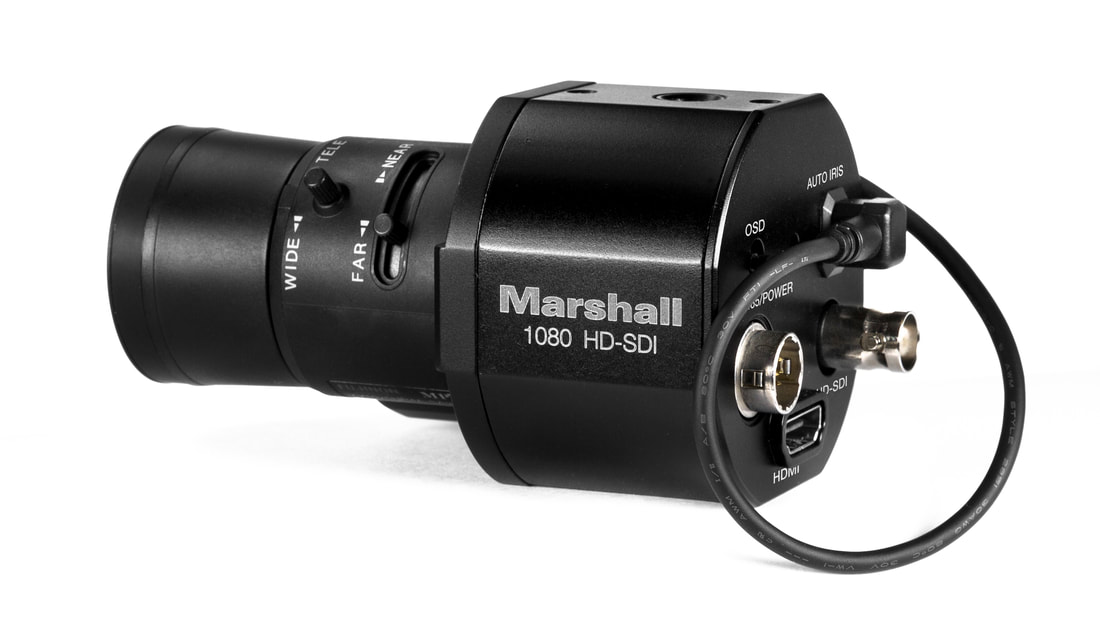
 The reality is that, any new live streaming system takes time to get up to speed on if you didn’t have one before. Commanding multiple joystick control surfaces or people can be a lot to handle. The POV CS camera line by Marshall provides a cost effective way to solve this problem. Cost can be saved by using initially only one robotic or manned camera and several other static cameras mounted around the room. This provides lots of movement or dynamics and lowers both the cost and complication. The Marshall POV cameras come in many different quality levels and a variety of lens options. Each customized to the needs of a situation and with professional connections such as HD-SDI. The unique option is that as streaming needs grow these camera positions can be replaced with robotic or manned cameras and be migrated to new and interesting angles such as reverse angles from the stage or creative angles for baptism or worship.
Choosing Your Mix"I believe that the sound guy is one of the most important parts of the band. Without a good audio engineer, you could have the Beetles on stage and it wouldn’t matter. Because the sound guy decided who and what is going to be in the mix that everyone hears. So how do you go about choosing that mix? This can be a difficult question to answer, especially in an age when many bands are supplementing what they have live on stage with tracked instrumentation. And an extra challenge occurs when you are playing the same set multiple times. How do you keep it sounding consistent? So, how should you choose your mix? For myself, on a weekly basis I am the A1 for my local church. Like many churches we use planning center to schedule teams and upload the set list for the week. Another thing that my church does is that the worship pastor adds in the version of the song that he is wanting to emulate. Part of my preparation is to listen to the version of the song that he puts into planning center. Listening gives me the base for the vison of what the worship pastor is looking for in that song. Another way I prepare for what is going to be in the mix is to use the band rehearsal time to really pay attention to what is being played rather than try and mix. This is my chance to listen to individual instruments. For example, let’s talk about the electric guitars. Very often we have two electric guitar players on stage, and they are each using 2 amps. That is 4 channels of electric that I get to choose from for every song. During practice, I try and listen to what each electric is doing and the different tone I’m receiving to decide what I am going to use for each song, and where the lead lines are that I am going to feature. 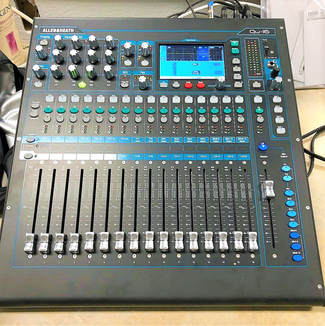 This brings up another important point: What instruments are going to be featured for each song is one of the most important parts of choosing your mix. Featuring the right instrument for the song helps to bring the correct dynamic for the song in the room. Sometimes when it comes to choosing less is more. Now what do I mean by that? Just because an instrument is on stage doesn’t mean it needs to be forefront in your mix all the time. In fact, where I tend to make the most mistakes is when I’m trying to put too much into my mix. Now this, like most things, needs to be considered on a situational basis. For some songs, you might need both electric guitars, keys, and the tracks to get that full sound or rhythm the song naturally has. Now once you have decided what you want your mix to sound like, how do you go about implementing it, and keeping it consistent? Personally, I use 2 different methods, depending on the set and situation. The first method is old-school, taking good notes. I print off a run sheet, and make specific notes about what instruments I’m using, and what changes I need to make between each song. The other method has been made possible by the rise of digital audio and digital sound consoles. Digital consoles allow you to save live presets, which allow you to push one button and change your mix on the fly. Be careful though because this feature can be a double-edged sword. If you need to make a global change to your mix, you have to go to each preset and update that preset. The more expensive boards make this process easier, but the learning curve can also be steeper. Presets also take more time to program and get dialed in. I really like to use this feature on larger events when I have a lot of musicians on stage. This feature is also helpful if you have multiple services, because it keeps your mix consistent service to service. Overall though, enjoy yourself and work the process! Maybe try a few of these pieces each week and see what works for you. It can take multiple weeks to work each piece in but just like musicians, practice makes perfect." -Trevor has been a Front-of-House audio engineer for over 10 years now. He loves his current console, a Digico SD9, but has spent time behind a variety of a consoles. Recently he has been doing some studio engineering work and is really enjoying the challenge of learning different DAW’s.
|
AuthorsAll of the Lambda Staff contribute to the Blog. If you have any questions about the info we provide, please don't hesitate to ask! ResourcesCheck out our resources page for FREE checklists and tools we mention in articles! We are here to help you improve and maintain your Audio Visual Systems!
Categories
All
|
 RSS Feed