
"Don't cross the streams. That would be bad." |

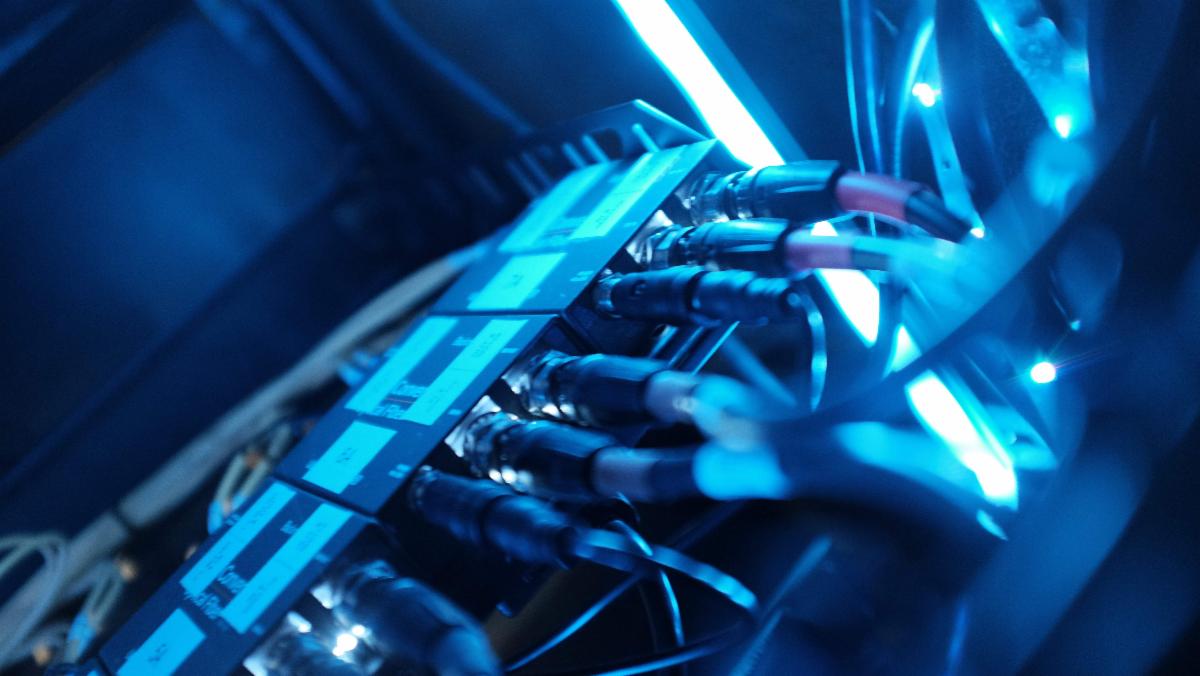
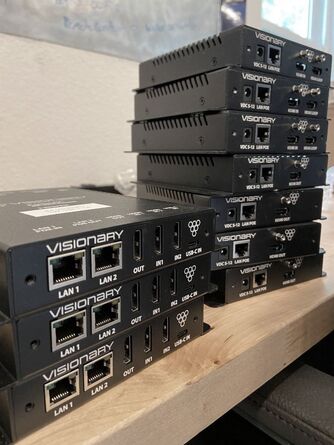 | Lambda AV is in the middle of several large system control installs, so we wanted to let you in on a bit of the process and take a look at some of the gear we are using! We’ll highlight these projects more in-depth next month, but for now, let’s focus on an introduction to Visionary Solutions! Visionary Solutions builds incredible products and is our go-to solution for creating efficient system control solutions. First, let’s look at new models of Visionary Solutions E5100 and D5100 Encoder and Decoder! Now, this is a bit more advanced but could be extremely useful for many of you, so we wanted to be sure to take a moment and explain how these two little devices could bring some amazing changes to your av. |
With the growing demand for casting 4K video, professional AV designers and IT directors can use Visionary Solutions products as an alternative to conventional distribution systems such as video switchers. This can be even more useful if your building already has an existing IP network. Adding these encoders to your network is an elegant solution for distributing video throughout your building or conference rooms. Here’s how it works:
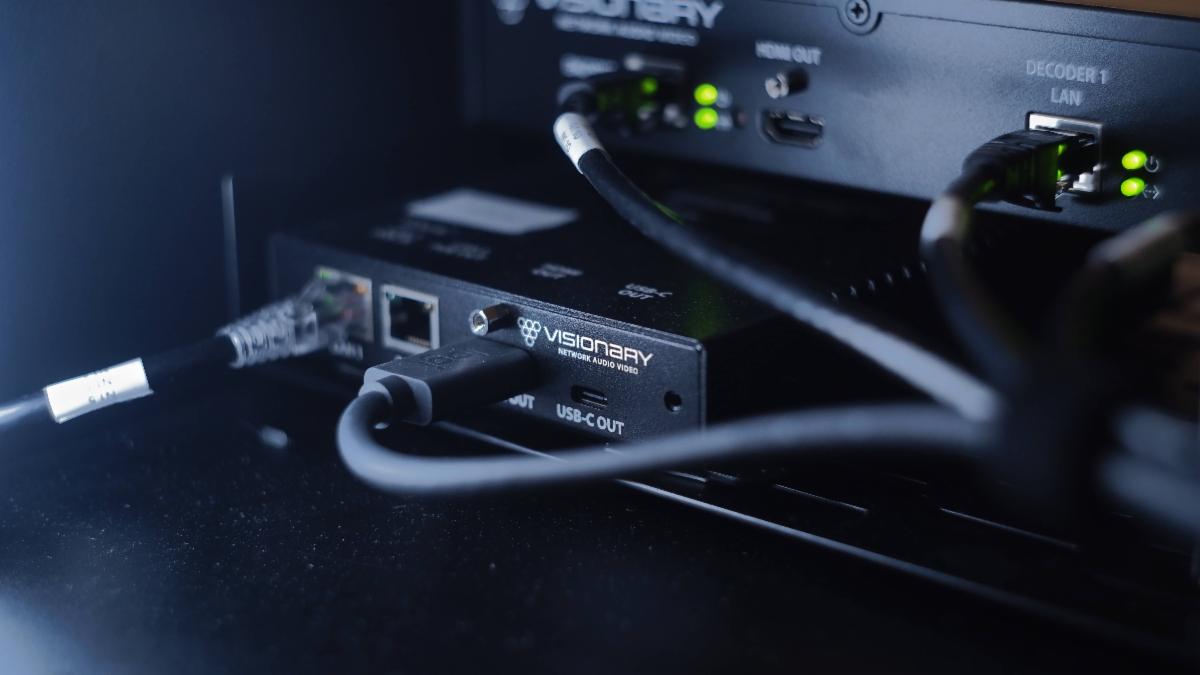
An encoder is easily connected to an AV signal source, such as a computer, through an HDMI cable. This then takes the signal from your computer and converts it to be transmitted over your existing network. This signal is sent through your infrastructure to any selected decoder in the building. The decoder then converts the signal back into an HDMI signal connected directly to a video display. This form of casting video produces visually lossless video. As if that wasn’t incredible enough, it is also easy to set up and control. Your video input can be sent to any decoder installed in your entire building! The signals are easily controlled with their Vision Lite software on a computer. Using this software, you will be able to choose which tv’s receive your video signal, including LED walls. Visionary’s products can be deployed on any industry-standard IP network. They can be used on existing enterprise IP networks or a physically separate private network to offload traffic. It’s that simple!
 | What does this mean for you? It means you can stream live video from your anyone presenting in any room in the building all with the touch of a button! It nearly eliminates the need for complicated, expensive video switchers and makes it easy for one person to use and control. This system even has the option of using the Wallplate encoder. This in-wall box can be easily mounted on a wall, tabletop, lectern, or floor box, enabling visitors to directly plug in their computers. In an instant, your AV team can take that signal and cast it to the main screens or other parts of the building where the presentation needs to be seen. The possibilities of sharing video to any screen you need are almost endless! Once programed for your needs, this system is so simple and extremely cost-effective! Especially if you already have a network in your building. Remember all those frustrating times you were trying to share your speakers’ video in a lobby or an overflow room? Say goodbye to those frustrations! By using your existing IP network, you can cast your video seamlessly, with an inexpensive, and easy to control product! |
We can’t wait to highlight several projects where Visionary solutions has made a big difference in usability, but in the meantime, if you think this sounds like a solution that you could use in your space, we would love to chat with you and answer any questions you might have! You can reach us at [email protected]
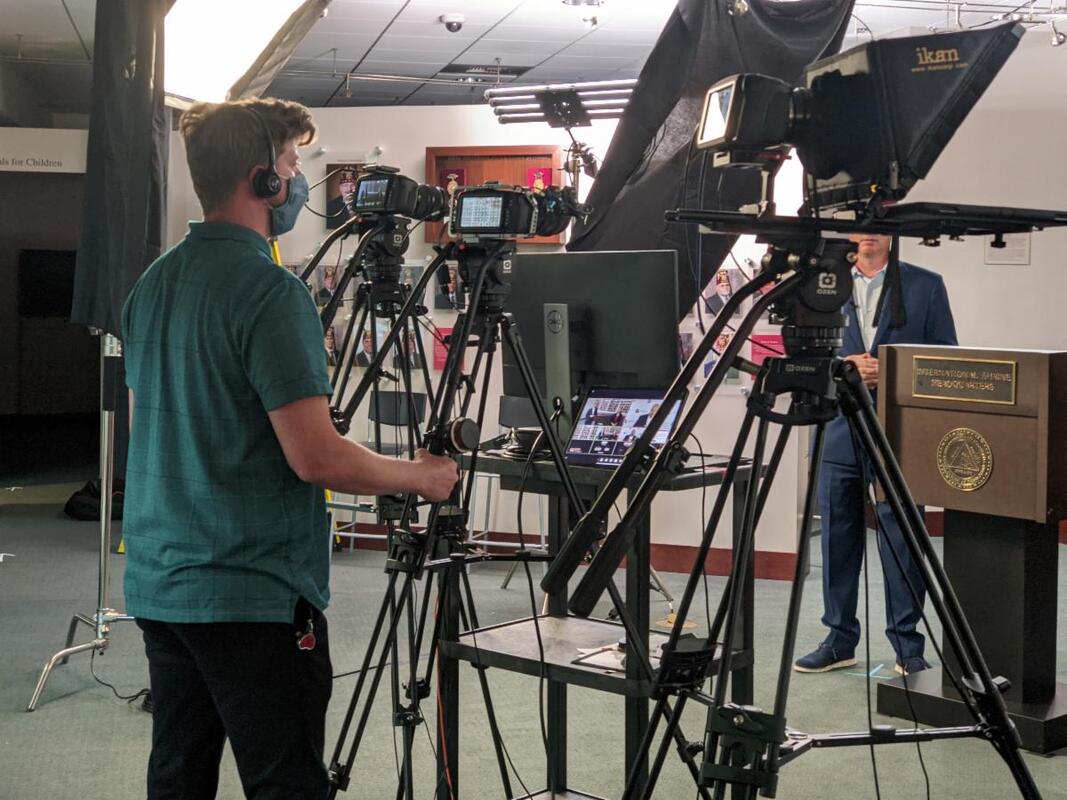
ProPresenter is a powerful software tool that benefits individuals and organizations involved in multimedia presentations. One of the advantages of using ProPresenter is its intuitive and user-friendly interface, which allows users to create stunning and dynamic presentations with ease. The software offers a wide range of features, including advanced video and audio playback capabilities, real-time editing, and seamless integration with other multimedia devices. ProPresenter also excels in its ability to handle complex multi-screen setups, making it an ideal choice for large events and productions. Furthermore, ProPresenter's robust media management system enables users to organize and access their files efficiently, ensuring smooth and hassle-free presentations. With its vast array of features and flexibility, ProPresenter allows users to deliver visually engaging and impactful presentations, making it an indispensable tool!
So, how do you begin to access the full power of using ProPresenter? A great place to start, whether you are a beginner or more advanced, is to dive into the free ProPresentor Tutorials! That’s right! ProPresentor offers an entire library of tutorials ranging from beginner basics training to advanced configurations for a pro look!
Ready to take your ProPresentor to the next level? Check out the samples below or follow the link to access the Entire Training Library!
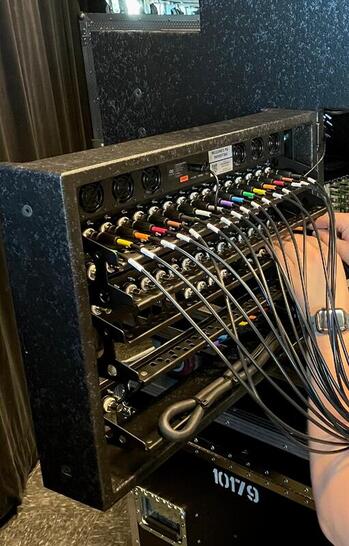
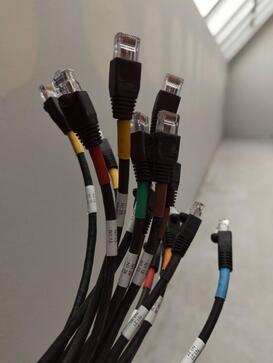
As audio and video techs I’m sure many of us have spent far too much of our time tracing cables!! Often that is the only way to truly verify whether cables are plugged in correctly when you are having a signal flow issue. One way we at Lambda AV have tried to eliminate or greatly reduce tracing cables is a relatively simple process… Labeling the cables! Labeling the cables and having accurate documentation on where every cable is actually going can save you lots of time in your troubleshooting and in any future redesign projects!
As you can see in these pictures, we use a combination of labels and color-coded heat shrink to identify each cable and what connection they have. Check through your list and make sure each is connected where it is supposed to be.
Labeling along with good documentation, as you can see here can help you trace a cable in seconds instead of minutes or hours!
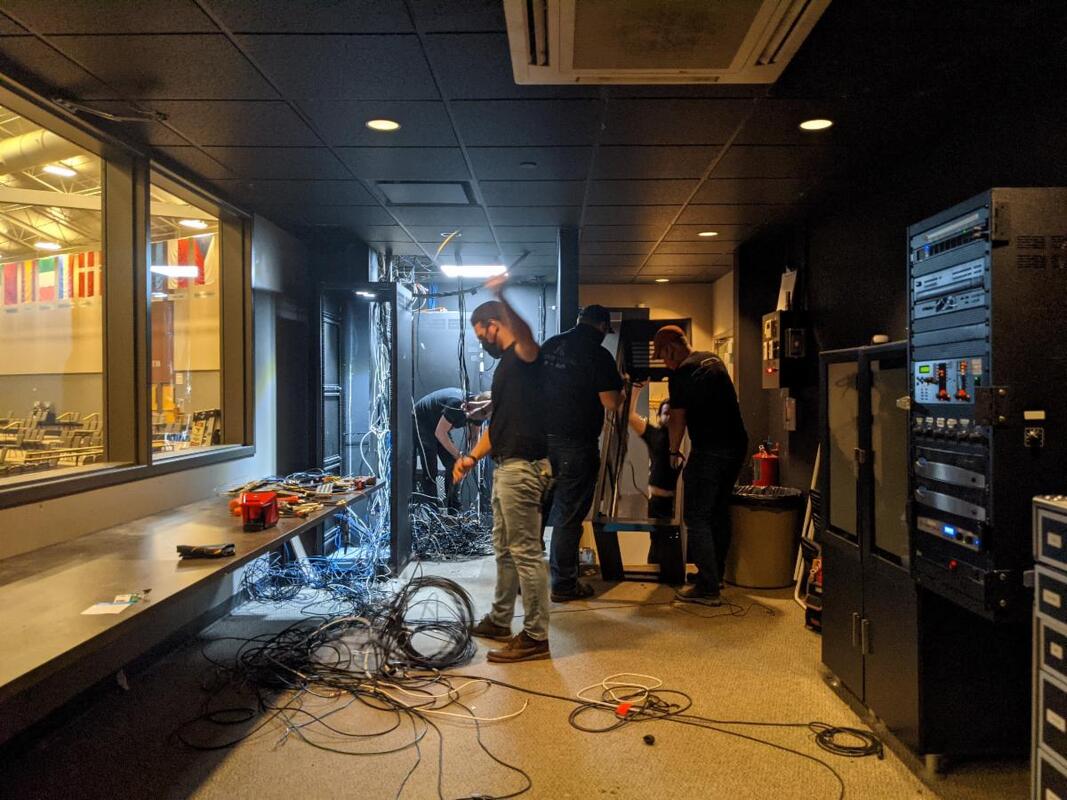
 | After weeks of rigging and installing tech gear, it’s on to wire pulls at Cross and Crown (CC). In preparation for starting at CC, we worked with their electrician on conduit layouts throughout the building to provide safe, easy places for wire runs. We tried to plan ahead by leaving space not only for what is needed now but for any future wire that might be added to the building later on. On this, as with many of our installs, we use a high-speed network backbone with fiber optic in between network switches to condense normally large groups of wires and provide flexibility. We still have plenty of analog speaker lines, camera lines, and other cable runs, but it certainly helps to reduce the amount of cable in a space. |
| With a map of the conduit in the building, we were able to produce a list of all the needed wire runs. To streamline the process, we built a schematic listing the start and destination for each wire as well as any stops it needed to make in between! Once wires are pulled, we begin “terminating” or putting ends on them and plugging them in. With the wiring complete and terminated, we get to move on to installing gear and racks, and beginning to move the final pieces into place to begin testing. It's great to see pieces being put in place and equipment turned on! In just a short amount of time, CC will be up and ready to move into their new building, but for now, we hope you have a restful Thanksgiving week! | 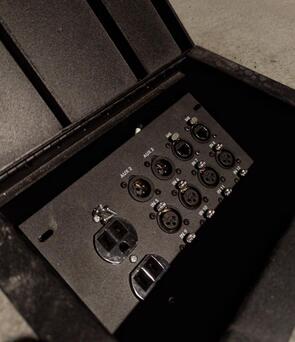 |
When I (Ryan) was in high school, I took a series of courses from D20 as part of their tech pathway. These courses were all about becoming a Cisco Certified Network Associate. These classes offered basic understanding of how to setup, design, and configure computer networks. Fast forward to post college with a degree in Broadcast Video Production that I never thought I would use, but today basically all our Audio, Video, and Lighting systems use networks and use them in advanced ways.
 | When we first connected with Woodmen Valley Chapel (WVC) it was to look at solutions for specialty pan tilt zoom cameras for streaming. However, in a passing comment the tech staff noted that they had many problems with their Dante audio networking setup, and it wasn’t in a stable configuration. Talking with the staff about the issue, we were able to present a solution we knew would stabilize things for them. This solution was replacing the older network switches with a properly configured set of Netgear series M4250 switches. |
When it comes to networking today, the simple “dumb” switches, or switches straight out of the box, simply aren’t enough for demanding, time critical, AVL (Audio, Video, Lighting) events and systems. So much data is moving around in these systems that it is absolutely critical to have switches configured correctly for the protocol or service being used. In this case, Dante audio requires large loads of audio specific timing and multicast settings to make sure audio is delivered on time and the clock is never dropped.
Camera placement and creating dynamic shots in your studio, especially if it’s small, can be difficult. There are a few things to consider when looking into your camera setup.
 | First, making sure your camera is in a good spot is an important part of creating a studio. You need to make sure you have enough room to be placed away from your talent so you can not only fit everything you want into the shot but also make sure there is room to take more creative shots. Allowing more room between your camera and your subject not only allows for the needed spacing to capture a shot but allows you more creativity if you want to do any pulls or pushes. |
| Second, we all know that talking head interviews are not always the most exciting thing; it's undoubtedly true. But interviews and talking heads are a large portion of filming. So, whatever you can do to add a little spice and interest to your interview shots is always a good idea. A great way to do this is by adding movement to your shot through a dolly or slider. The motion provides visual interest and helps keep the attention of your audience. |  |
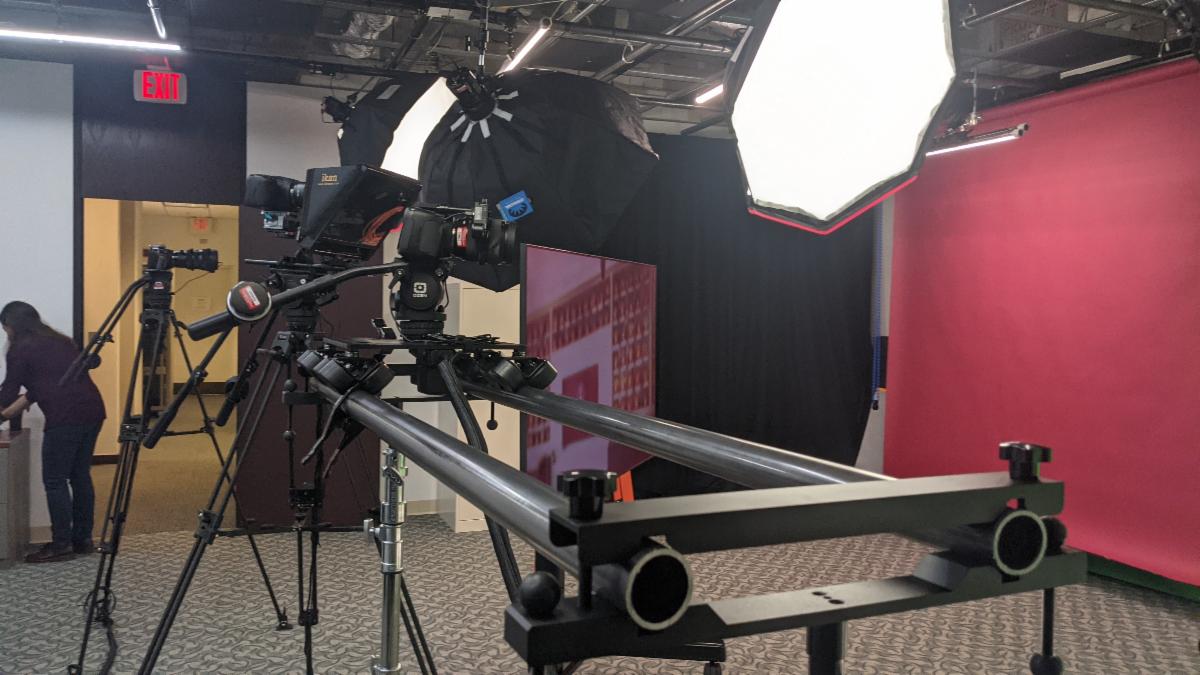 | Using a slider will elevate your production value, improving your shoot's overall look by adding a three-dimensional feel. Thankfully, there are plenty of great options out there for sliders and dollies that can fit any number of budgets and use cases. |
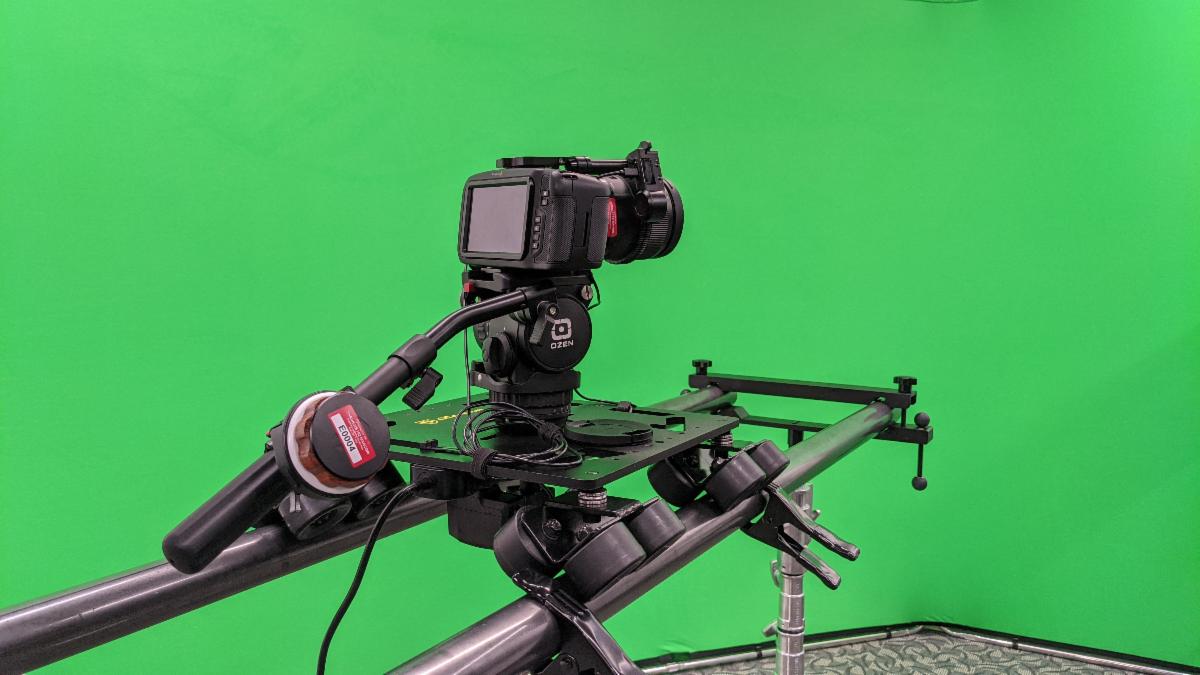
For one of our recent corporate studio installs, we used the Dev Dolly from Gide Gear. It's a modular system that runs on 1-inch or 2-inch metal rails. One of the benefits of this is that you can easily swap rails to a shorter setup if you are working in a limited space or swap out to a much longer setup if required. Its sled/carriage rolls on a four quad wheel configuration providing silky-smooth, consistent movement. The stands used were Matthews rolling low boys, enabling the dolly to be easily moved and adjusted.
If you're looking for that little extra touch to elevate your production, a slider or dolly can knock that goal out of the park. Are you looking to move to the next level in your video production, but aren’t sure where you want to start? We’re always happy to answer any questions you have! Email [email protected] and you get a response from our qualified experts in whatever field you need information on!
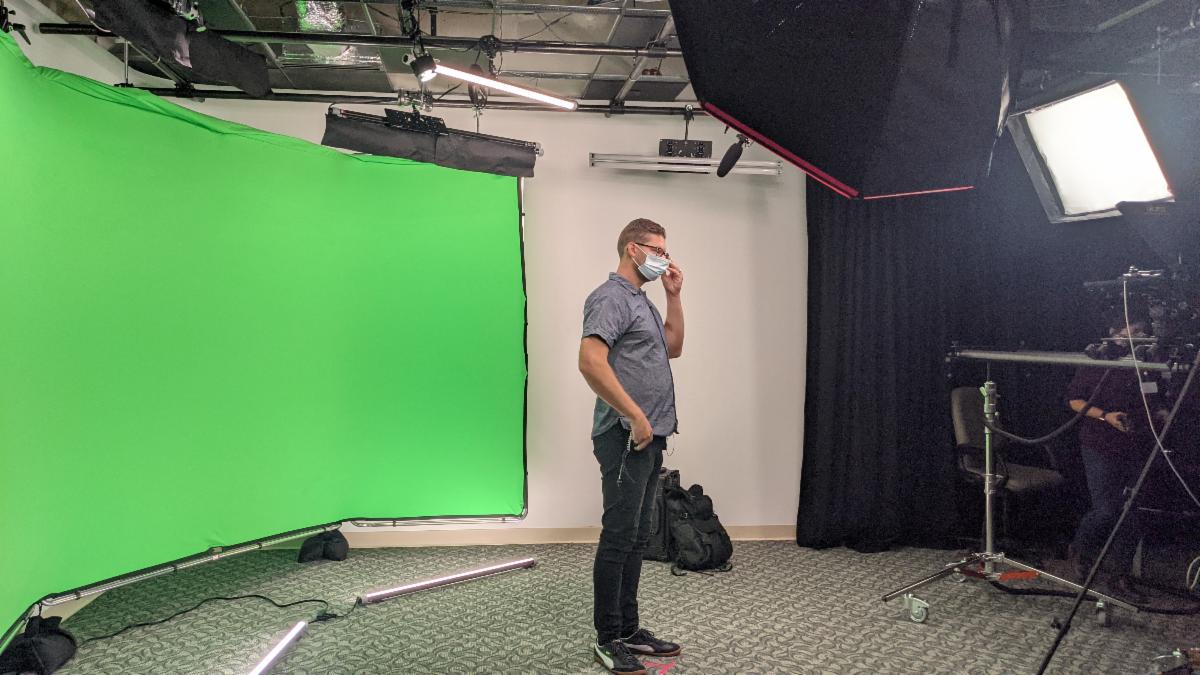
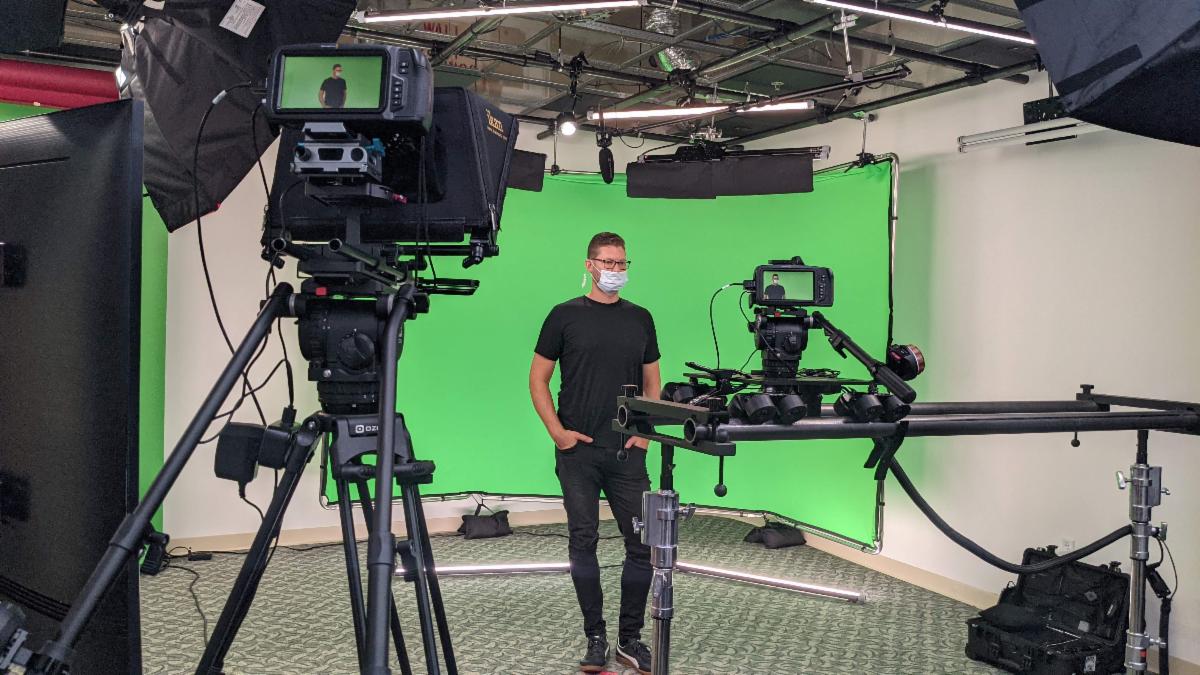
Green screens can offer a lot of versatility and open new doors of opportunity to create more content in your studio or gain more experience with your production skills. So, let’s take a look at some of the challenges and benefits of working with a green screen in your space! We recently were able to install a green screen for a corporate studio. Their needs presented a unique set of challenges and benefits to having a green screen in their studio.
So, let’s set the stage: The corporation had set aside a space for a video studio and had the goal to create quality video content to present to the rest of their organization and their network. What they didn’t have was a very large space and being a corporation, they also knew they needed to be able to produce content quickly for more immediate use. Knowing this, using a green screen sounded like a desirable way to get what they needed out of their studio!
So, you are considering looking into more AV equipment. You don’t have any real plans, it’s just something you need to start thinking about. Maybe you’ve googled some gear here and there. Or maybe you’ve had your eye on something you really want to add to your setup.
 | At this point, you may have heard about Lambda and how great they are, so you casually reach out to see what general pricing might be on that new audio gear. If this is you, you might be surprised when we answer back asking to schedule a site visit. It might sound inconvenient or more serious than you are ready to commit to. So, why do we schedule a site visit or a phone call before giving you a quote? |
| We offer a lot of different services at Lambda, but the heart of our company is to provide excellence in service and support through our knowledge of Audio-Visual technology. We want to meet, as well as exceed, the needs and solutions we provide to our customers. Lambda is built on giving you the personal experience you won’t get from other companies. This includes making sure we see and understand your specific system so we can offer you the best solution. Anyone can buy some type of equipment online, but when Lambda offers you a solution, you can rest assured we’ve taken your current situation and future goals into account. Not only that, but that we have tested and are confident in the equipment we offer. So, what does a Site Spec look like? Lambda offers free, no obligation Site Specs whenever you have time. They may take anywhere from 30min to a few hours depending on size of the system and to give you time for any questions you might have for us! Often, by scheduling a Site Spec we can offer you tips or suggestions about your system to help it improve or to help you plan for what needs to be done in the future. And if on-site is too much, you can always schedule a phone call! | 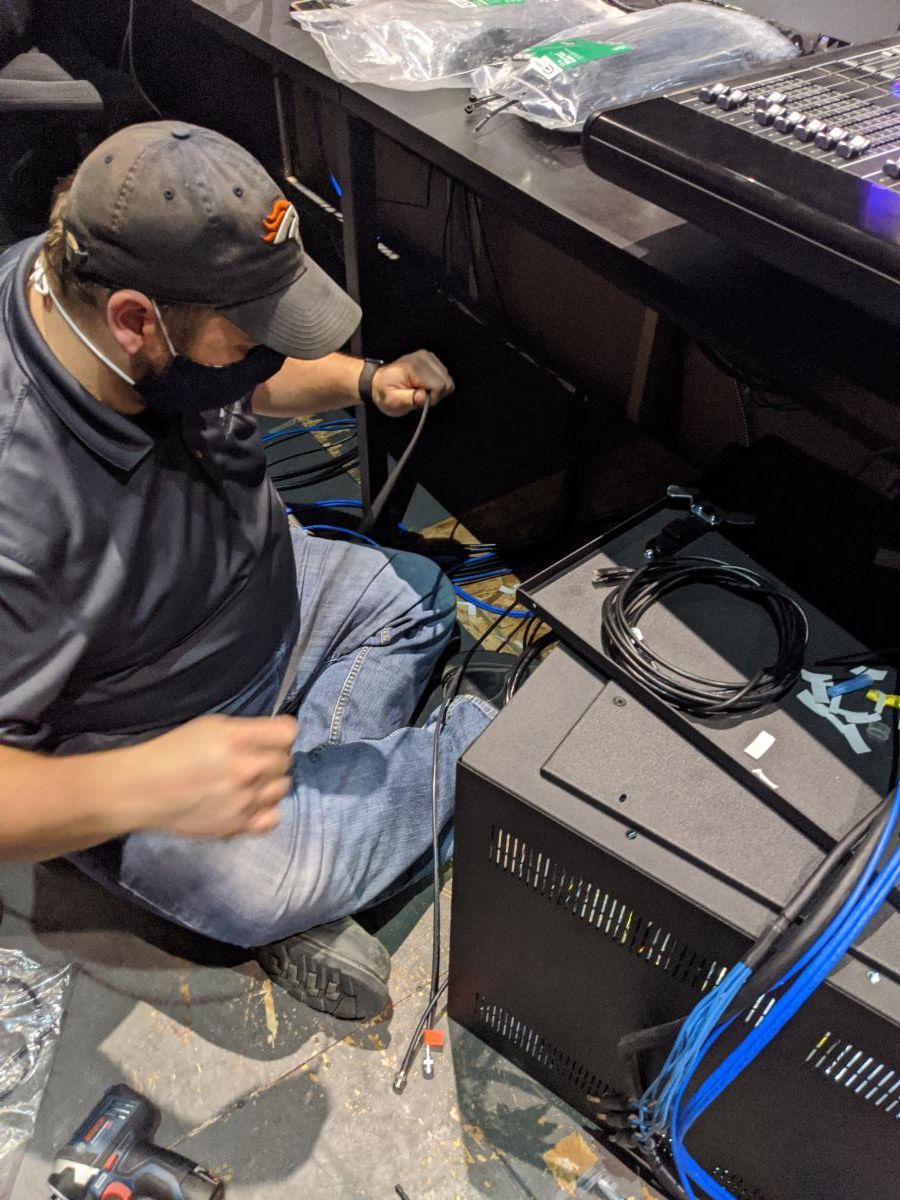 |
 | Our favorite thing at Lambda is to put tools into your hands. This means we do less box sales, such as purchasing online, and more offering you a custom solution just for you! So, next time you feel hesitant on doing a site visit with Lambda, remember it the easiest, quickest way to get a quick professional opinion before anything else happens. |
Curious to know what we would suggest to make your system better? Schedule a Site Spec anytime by visiting the scheduling tab on our website! Or email for an appointment.
Our take on the New M1 Mac
n my career in AV, I have seen several transitions with computers and though each one has been significant, this one might be my favorite. In an effort to test and experiment with new equipment, as we always try to do for our customers, I purchased an M1 iMac and gave up my barely one year old highly spec’d intel MacBook Pro… and I haven’t looked back. If you aren’t familiar with the M1 apple products, it’s a new chip designed by apple. This chip takes on an entirely new hardware design and in doing so really pours on the performance. The big adds are what is called ARM-based RISC computing, along with on-chip graphics processing, and on-chip memory. Basically, the computer is able to access more of its resources quicker. What does this mean for you and me? Here are a few great use cases I have seen on my own.
Authors
All of the Lambda Staff contribute to the Blog. If you have any questions about the info we provide, please don't hesitate to ask!
Resources
Check out our resources page for FREE checklists and tools we mention in articles! We are here to help you improve and maintain your Audio Visual Systems!
Categories
All
Audio
AV Integration Knowledge
Case Study
Fun Facts
Legendary Christmas Letter
Lighting
Product Spotlight
Tech Tips
Visual
Volunteers
 RSS Feed